In the previous chapters, we explored the creation of KVM guest operating systems on a CentOS Stream 9 host using Cockpit and the virt-manager graphical tool. This chapter will focus on creating KVM-based virtual machines using the virt-install and virsh command-line tools. These tools provide all the capabilities of the virt-manager and Cockpit options with the added advantage of being used within scripts to automate virtual machine creation. In addition, the virsh command allows virtual machines to be created based on a specification contained within a configuration file.
The virt-install tool is supplied to allow new virtual machines to be created by providing a list of command-line options. This chapter assumes that the necessary KVM tools are installed. Read the chapter Installing KVM Virtualization on CentOS Stream 9 for details on these requirements.
Running virt-install to build a KVM Guest System
The virt-install utility accepts a wide range of command-line arguments that provide configuration information related to the virtual machine being created. Some command-line options are mandatory (expressly, name, memory, and disk storage must be provided), while others are optional.
At a minimum, a virt-install command will typically need the following arguments:
- –name – The name to be assigned to the virtual machine.
- –memory – The amount of memory allocated to the virtual machine.
- –disk – The name and location of an image file for storage for the virtual machine. This file will be created by virt-install during the virtual machine creation unless the –import option is specified to indicate an existing image file is to be used.
- –-cdrom or –location – Specifies the local path or the URL of a remote ISO image containing the installation media for the guest operating system.
A summary of all the arguments available for use when using virt-install can be found in the man page:
 |
You are reading a sample chapter from CentOS Stream 9 Essentials. Buy the full book now in eBook or Print format.
Full book includes 34 chapters and 290 pages. Learn more. |
$ man virt-installCode language: plaintext (plaintext)An Example CentOS 9 virt-install Command
With reference to the above command-line argument list, we can now look at an example command-line construct using the virt-install tool.
Note that to display the virtual machine and complete the installation, a virt-viewer instance must be connected to the virtual machine after the virt-install utility starts it. By default, virt-install will attempt to launch virt-viewer automatically once the virtual machine starts running. However, if virt-viewer is unavailable, virt-install will wait until a virt-viewer connection is established. For example, the virt-viewer session may be running locally on the host system if it has a graphical desktop or a connection may be established from a remote client as outlined in the chapter entitled Creating KVM Virtual Machines on CentOS Stream 9 using virt-manager.
The following command creates a new KVM virtual machine configured to run a RHEL 9 guest using KVM para-virtualization. It creates a new 10GB disk image, assigns 2048MB of RAM to the virtual machine, and configures a virtual CD device for the installation media ISO image:
# virt-install --name demo_vm_guest --memory 2048 --disk path=/tmp/demo_vm_guest. img,size=10 --network network=default --cdrom /tmp/rhel-baseos-9.1-x86_64-dvd.iso Code language: plaintext (plaintext)As the creation process runs, the virt-install command will display status updates of the creation progress:
Starting install...
Allocating 'demo_vm_guest.img'                                |  10 GB  00:00:01
Running graphical console command: virt-viewer --connect qemu:///system --wait demo_vm_guestCode language: plaintext (plaintext)
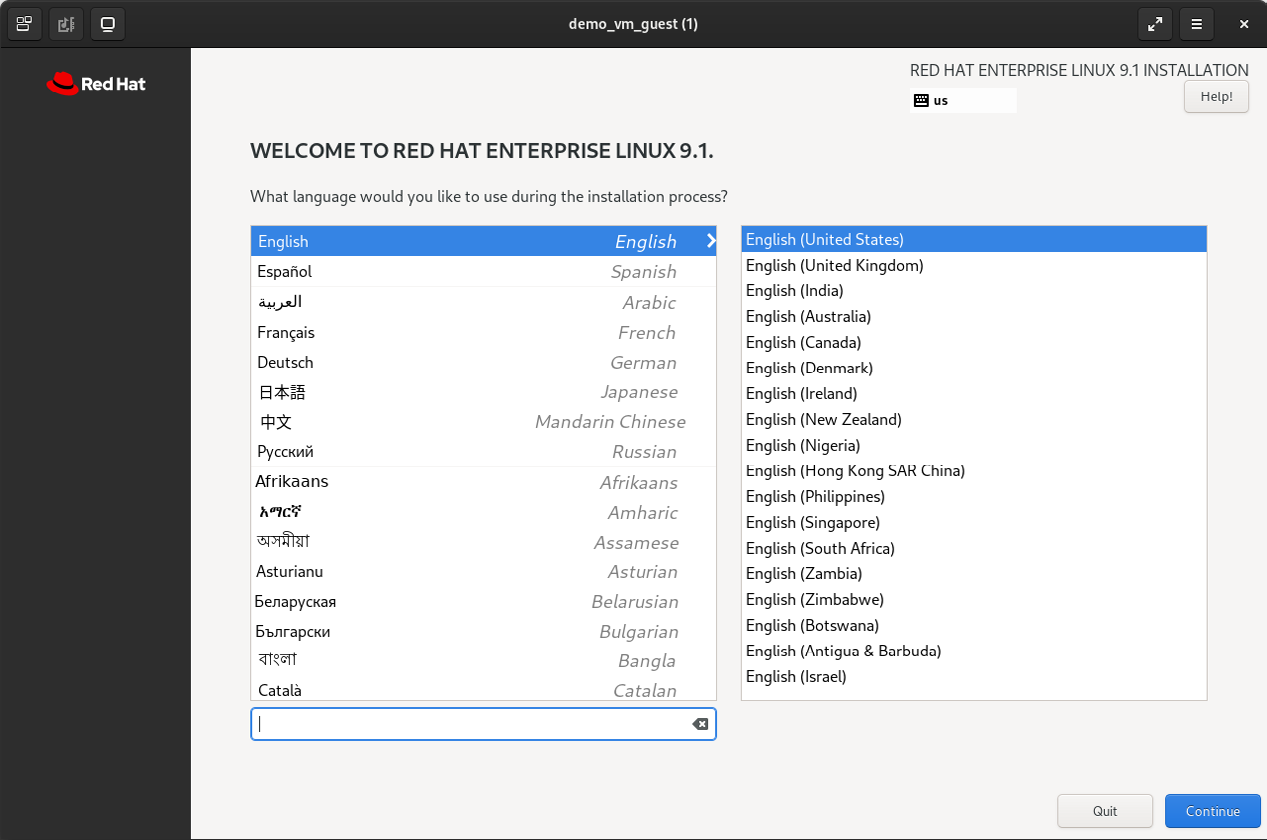
Once the guest system has been created, the virt-viewer screen will appear containing the guest operating system installer loaded from the specified installation media:
 |
You are reading a sample chapter from CentOS Stream 9 Essentials. Buy the full book now in eBook or Print format.
Full book includes 34 chapters and 290 pages. Learn more. |

From this point, follow the standard installation procedure for the guest operating system.
Starting and Stopping a Virtual Machine from the Command-Line
Having created the virtual machine from the command line, it stands to reason that you may also need to start it from the command line in the future. This can be achieved using the virsh command-line utility, referencing the name assigned to the virtual machine during creation. For example:
# virsh start demo_vm_guestCode language: plaintext (plaintext)Similarly, the virtual machine may be sent a shutdown signal as follows:
# virsh shutdown demo_vm_guestCode language: plaintext (plaintext)Suppose the virtual machine fails to respond to the shutdown signal and does not begin a graceful shutdown. In that case, the virtual machine may be destroyed (with the attendant risks of data loss) using the destroy directive:
# virsh destroy demo_vm_guestCode language: plaintext (plaintext)Creating a Virtual Machine from a Configuration File
The virsh create command can take as an argument the name of a configuration file on which to base the creation of a new virtual machine. The configuration file uses XML format. The easiest way to create a configuration file is to dump out the configuration of an existing virtual machine and modify it for the new one. This can be achieved using the virsh dumpxml command. For example, the following command outputs the configuration data for a virtual machine domain named demo_vm_guest to a file named demo_vm_guest.xml:
 |
You are reading a sample chapter from CentOS Stream 9 Essentials. Buy the full book now in eBook or Print format.
Full book includes 34 chapters and 290 pages. Learn more. |
# virsh dumpxml demo_vm_guest > demo_vm_guest.xmlCode language: plaintext (plaintext)Once the file has been generated, load it into an editor to review and change the settings for the new virtual machine.
At the very least, the <name>, <uuid>, and image file path <source file> must be changed to avoid conflict with the virtual machine from which the configuration was taken. In the case of the UUID, this line can be deleted from the file.
The virtualization type, memory allocation, and number of CPUs, to name but a few options, may also be changed if required. Once the file has been modified, the new virtual machine may be created as follows:
# virsh create demo_vm_guest.xmlCode language: plaintext (plaintext)Summary
KVM provides the virt-install and virsh command-line tools as a quick and efficient alternative to using the Cockpit and virt-manager tools to create and manage virtual machine instances. These tools have the advantage that they can be used from within scripts to automate the creation and management of virtual machines. The virsh command also includes the option to create VM instances from XML-based configuration files.
